Introduction
Onboarding
When you create a new SalesMagic account, you will go through the initial onboarding process. This will help you set up your account, create some initial sales prospects customized to your needs, and get you into the app as quickly as possible.
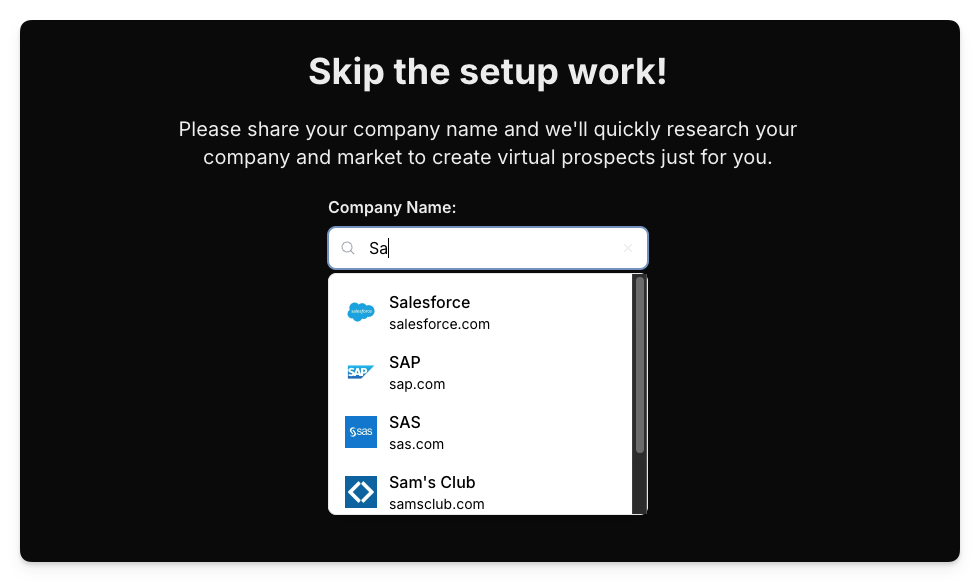
Step 1: Enter Your Company Name
The first step is to enter name of the company you work for. This is used to determine some Ideal Customer Profiles (ICPs) for your company and generate virtual sales prospects that are ideally suited to your needs. Simply enter your company name and press the Next step button.

Step 2: Specify Your Goal
The second step lets you specify how you want to use the SalesMagic app. SalesMagic supports several different roles that can personalize the app experience to your needs. The available roles are Sales Rep, Manager, and Admin.
As the user who initially created the account, you will have admin-level privileges irrespective of the role you pick. This is to ensure that there is always at least one user in any org with admin capabilities.
Step 3: Profile Generation
In the final onboarding step, you will be presented with an overview of your company that was generated by SalesMagic. This includes compiling three ICPs and using this information to generate three virtual sales prospects that are customized for your company's focus.
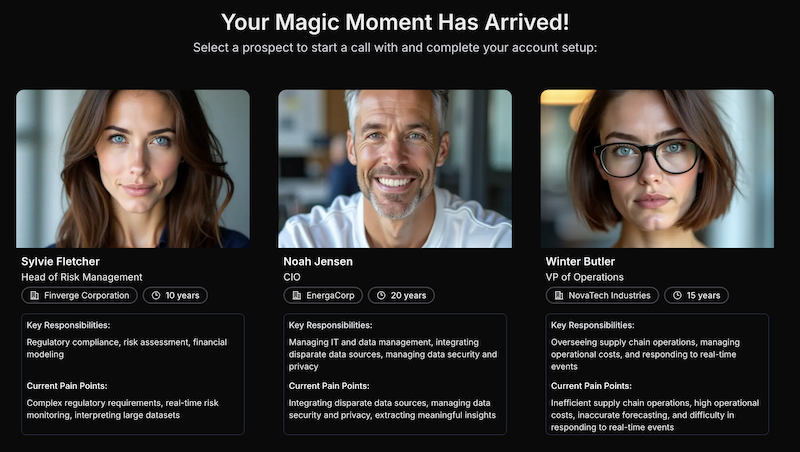
Once you press the Continue to SalesMagic button, you will be taken into the main app, which will be populated with your initial three virtual sales prospects. Note that these prospects will be available to all future team members that you invite to join your org. This ensures all additional team members will have relevant prospects to call as soon as they log in.
From here, you can make a call to one of the prospects to try out the core SalesMagic experience. (When making a call, your web browser may ask you to grant microphone permission for the SalesMagic app. This is needed so the app can hear your side of the conversation. If you have problems with this, refer to our Troubleshooting guide.)

Alternatively, you can navigate around the app to see what other functionality is available, such as the ability to create further prospects for your account or to invite additional team members to your account.